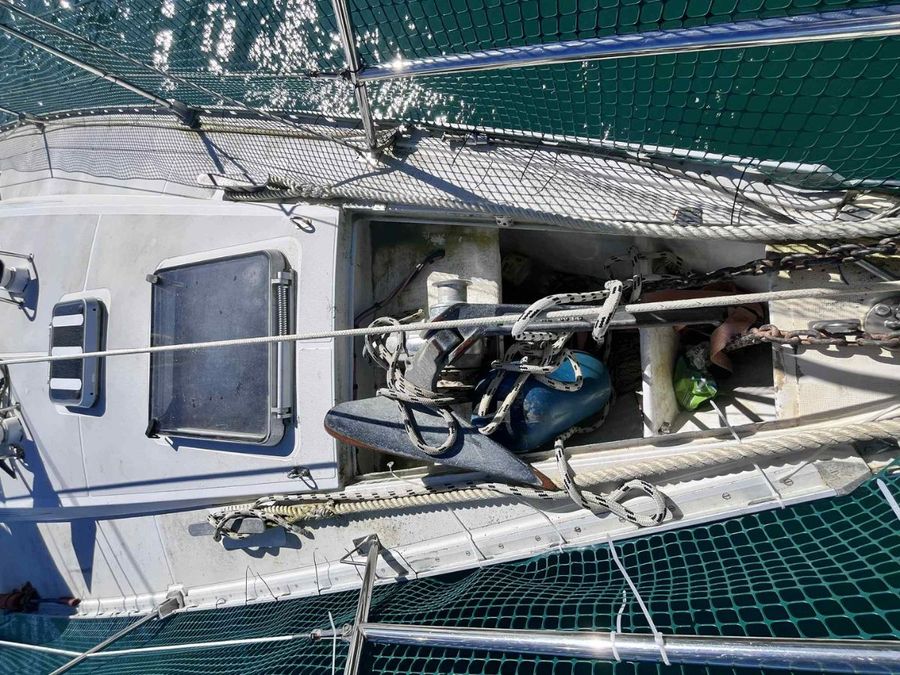
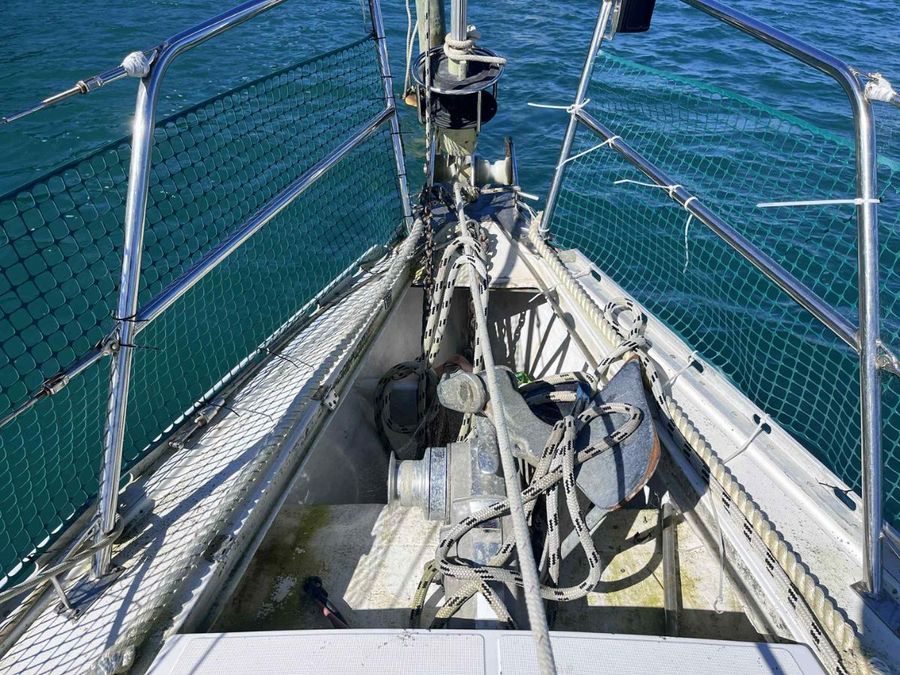
An anchor locker is a dedicated compartment, almost always built into the bow, designed to house your anchor and all its associated gear in a secure, accessible way. Its job is to keep the anchor, chain, and rode tidy and ready to deploy at a moment's notice, without creating clutter or hazards on the foredeck.
Construction varies with vessel size and type, but most lockers are moulded directly into the hull or deck structure to ensure both strength and watertight integrity. Self-draining design is standard, with scuppers or limber holes carrying water away before it can pool and cause damage. Interior surfaces are often lined or reinforced to withstand the constant abrasion of chain links and anchor shanks.
What lives inside depends on how the boat is set up. At minimum you will find the anchor itself, the rode (typically a combination of rope and chain), and the shackles or swivels that join them. On more sophisticated vessels there may also be a windlass motor and a washdown hose for rinsing the anchor clean as it comes aboard. The layout can range from a bare open well to a partitioned space fitted with cleats, rollers, and brackets. Whatever the arrangement, a well-organised anchor locker reduces trip hazards on the foredeck and keeps critical gear within reach when it counts.
Why clean your anchor locker
Most anchor locker problems are not the result of poor design. They are the result of neglect. Mud, sand, and marine growth that come up with the anchor and chain get left to fester, producing foul smells and a slimy buildup that worsens with every trip. Saltwater sitting in the locker, particularly if drain holes are blocked, accelerates corrosion. Rope that is not properly flaked and chain that is allowed to twist and pile unevenly will jam at the worst possible moment, often right when you urgently need to let the anchor go.
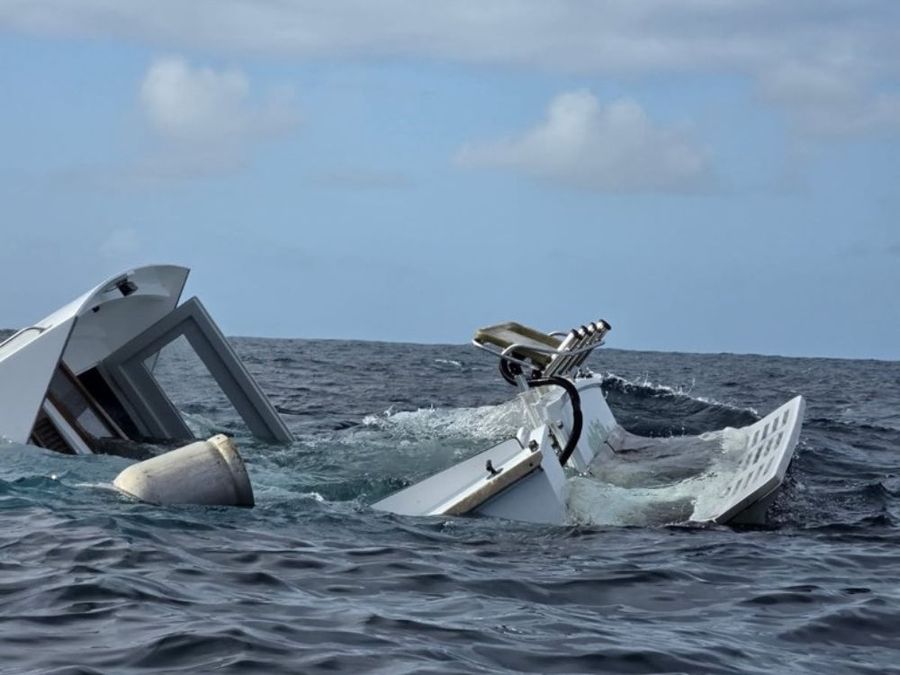
A scroll through boating social media turns up plenty of accounts from crews who have wrestled with exactly these problems. Yachting Monthly once ran a crash-test scenario in which, after the incident, the anchor chain was found to have escaped the locker and spilled across the foredeck, causing damage both above and below decks. The boat was being used for testing purposes, but the outcome makes the point clearly: an anchor or chain that is not properly secured and maintained can become a genuine safety hazard, particularly when heavy gear shifts without warning in rough conditions.
Keeping the locker clean, well-rinsed, and properly drained is not just about tidiness. It is what ensures the chain runs freely, the rode stows predictably, and the whole system works as it should when the weather turns.
How to clean your anchor locker
A thorough clean means removing the chain completely. Start by securing the anchor, then disconnect the chain from it. Open the locker and pull the chain out by hand, or with help if it is heavy, flaking it onto the deck or dock as you go. With the locker empty you have full access to clean every corner, inspect all the hardware, and service anything that needs attention.
Gear up and empty out
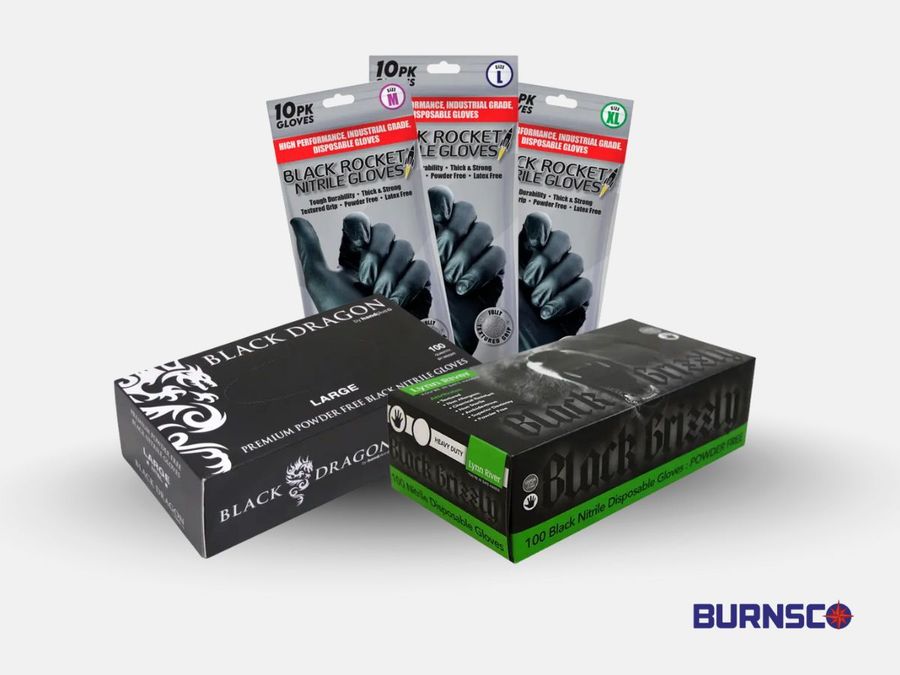
Before pulling gear out, lay a tarpaulin on the deck to protect the surface from dirt and rust. Bring the chain and warp out onto the tarp. Nitrile gloves and eye protection are recommended for this job. Burnsco's heavy-duty nitrile gloves do the job well.
Flush, scrub, degrease
Give the locker a thorough rinse with fresh water first, then work through it with a soft deck brush and a marine cleaner or degreaser to lift salt residue and slime. Take care to keep dirty wash water out of the bilge.
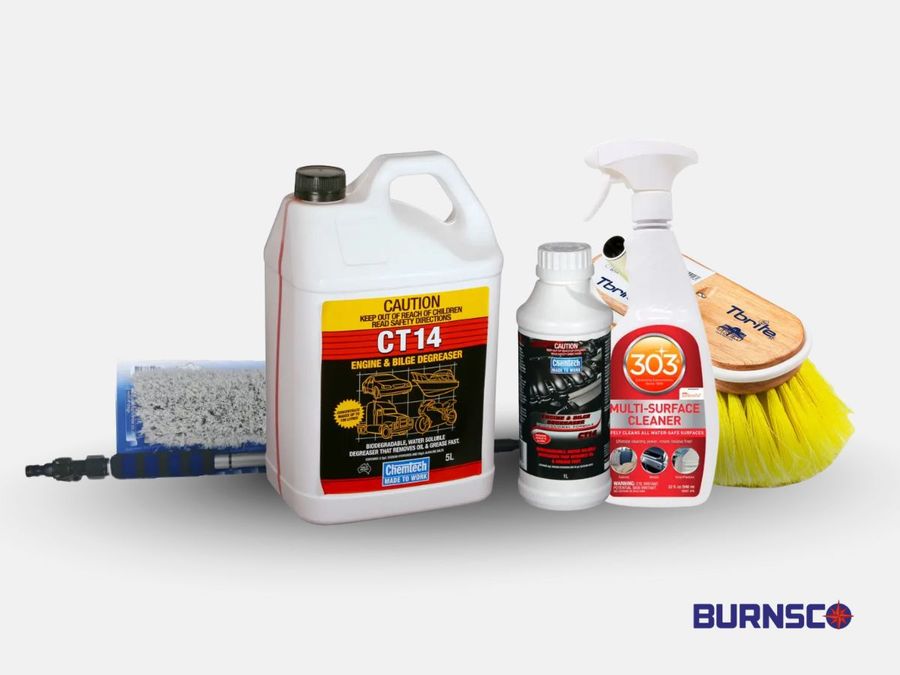
Check drains and fittings
Clear any blocked limber holes and confirm that drain hoses are sound and properly clamped. If your usual anchorages involve sticky mud, a washdown kit plumbed to blast the chain as it comes aboard is worth considering. Jabsco and Seaflo kits are popular choices for this purpose.
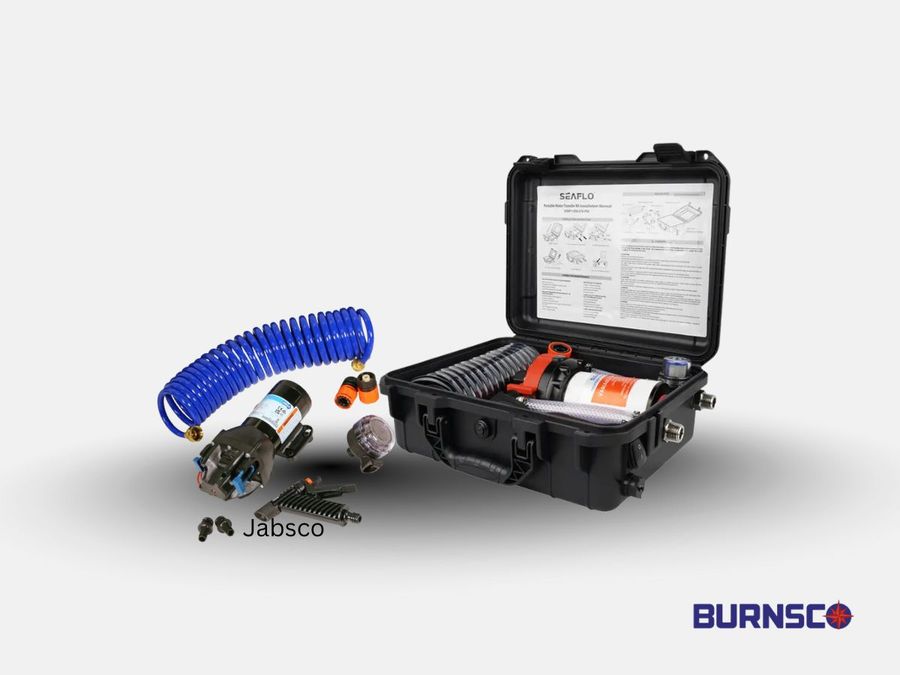
Inspect the chain
Pull the chain out fully and measure the total length. Look for red rust, stiff or seized links, and places where the galvanising has worn thin. Links that are thinning or that will not move freely need replacing. DIN766 short-link chain is the standard that mates with Maxwell gypsies, which are what most New Zealand boats run. Burnsco stocks DIN766 chain in both galvanised and stainless grades.
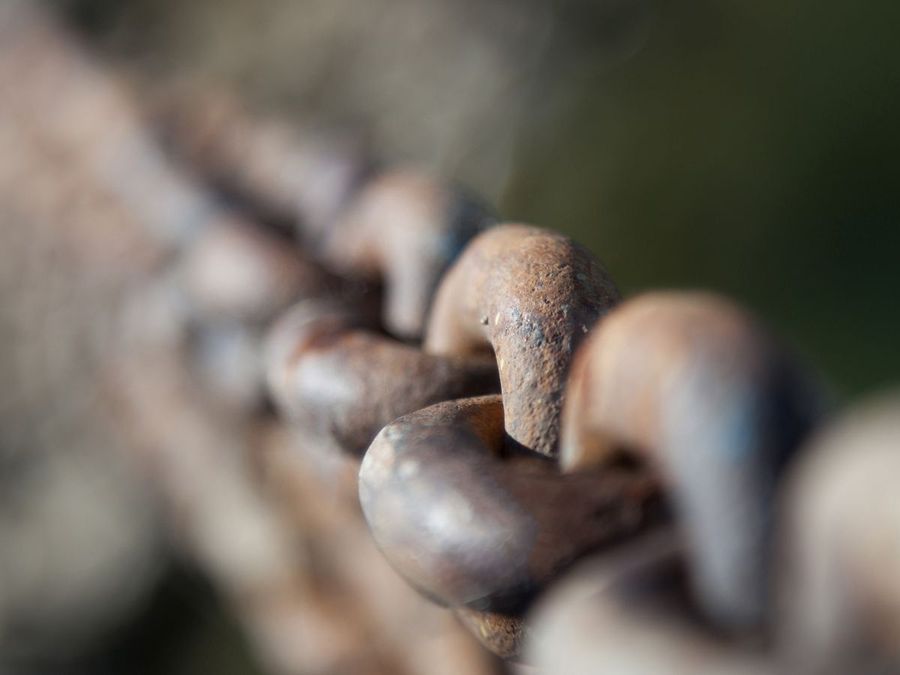
Inspect the warp
Run the rope through your hands from one end to the other, feeling for hard spots, cuts, or sections that have been flattened under load. Any doubt about the condition of the rope is good reason to re-splice or replace it. Bundle kits, which include rope, chain, and shackles sized for small boats, are an easy refresh.

Shackles and swivels
Look over every shackle and swivel for distortion or pitting, and replace anything that looks questionable. Make sure each shackle pin is the correct size for the chain it connects. A self-righting swivel is worth fitting because it helps the anchor arrive at the bow roller correctly oriented, which avoids a lot of frustration at the pulpit. Mouse shackle pins with wire or a cable tie once they are done up.
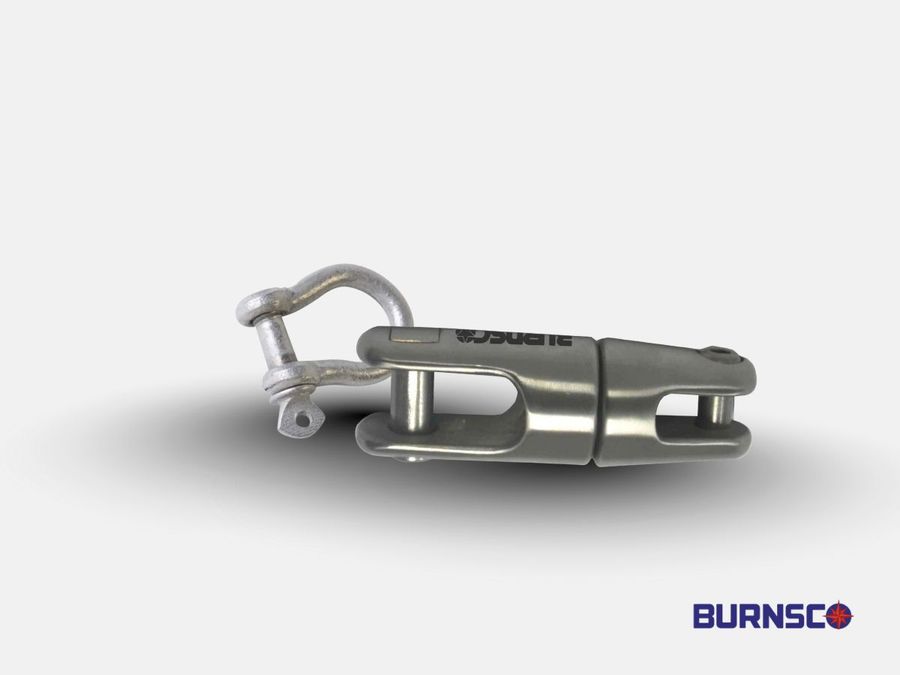
Dry and restow
Give the locker time to dry out completely before putting anything back. If smell has been an issue, a light application of a biocide-safe deodoriser helps. When restowing, coil the warp in first and flake the chain on top so the chain feeds out first when you drop the anchor.
Re-mark your anchor chain
Setting accurate scope is impossible if you cannot tell how much chain is in the water. While the chain is out on deck, take ten minutes to sort the marking system.
Choose a scheme you will actually remember. Many crews mark every five metres with a single colour and every ten metres with two colours. Purpose-made plastic chain markers, sized to fit your link gauge, are the neatest option and windlass-friendly. Keep a few spares on board. If you want a backup, small paint dabs alongside the plastic markers give you a secondary reference. Write the marking code on a label and fix it at the helm so any crew member can read it quickly. After a few trips, check the markers and replace any that have gone missing.

Choose the right anchor for your boat
New Zealand waters offer a good range of bottom types, and there are plenty of anchor designs to match. The key is to consider your typical seabed, your boat's windage, and what your bow hardware can handle.
Modern scoop anchors
The Rocna Original and the Manson Supreme both set quickly and hold firmly in sand and mud. The Supreme's sliding shackle can help break the anchor free when it has buried itself in rocky ground. Both designs work well with a windlass and are trusted by Kiwi cruisers.
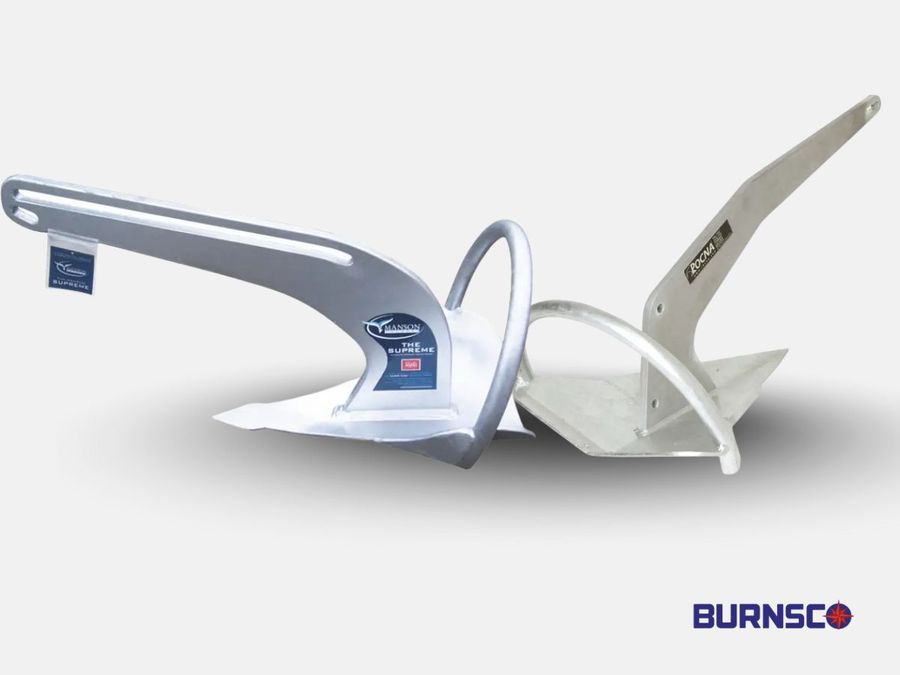
Plough and claw styles
Traditional plough anchors such as the Maxwell Maxset are versatile performers, particularly on soft bottoms, and they self-right readily for use from a bowsprit or roller. Danforth fluke anchors are light and bite fast in clean sand, making them a practical choice as a stern pick or day anchor.
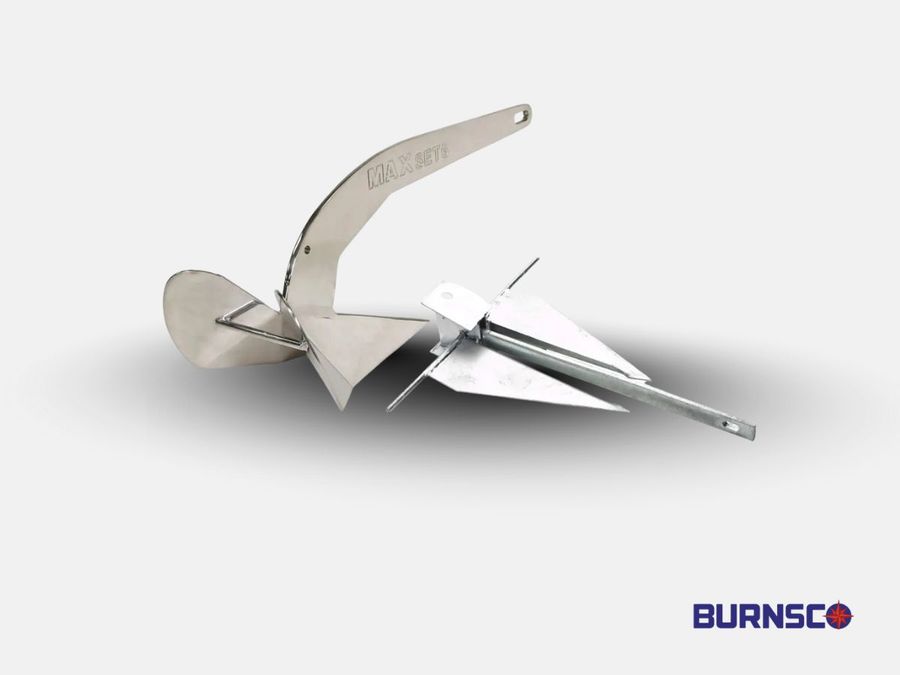
If you are not sure where to start, matching anchor size to boat length and displacement is the first step. Burnsco's anchor range covers the Rocna Original, Manson Supreme, Manson Plough, and Maxwell Maxset.
Clean your anchor locker, then keep sea pests off your gear
Exotic caulerpa is the pressing concern in the Hauraki Gulf right now. An anchoring ban is in place around the entirety of Hauturu Little Barrier Island, effective since 3 July 2025. Do not drop the pick anywhere near the island.
In controlled areas elsewhere, anchoring is permitted provided you check and clean your anchor and chain before moving to a new location. Any seaweed should be bagged and disposed of ashore. If bagging it safely is not possible, return it to the same water it came from. Do not carry fragments to the next anchorage.
Stay up to date with information from the Ministry of Primary Industries.
A simple on-deck routine
Motor ahead to take the weight off the chain before you start hauling, then pause. As the chain rises, use the washdown hose to rinse weed and mud off at the surface. Collect obvious weed in a bucket or a heavy rubbish bag. An alternative to the hose is a two-brush anchor cleaner that scrubs the anchor clean as it comes up through the roller. Stow whatever you collect for disposal ashore. Before you leave the area, check the bow roller, fairlead, and pulpit for any weed that has caught there. These steps are in line with current council and MPI advice.
Clean your anchor locker checklist
A clean anchor locker keeps gear reliable, prevents smells and corrosion, and extends tackle life. Use this checklist for proper maintenance.
✅ Gloves, brush, cleaner, and a washdown hose ready to go. ✅ Lay out and inspect warp, chain, shackles and swivels. Replace any suspect parts. ✅ Confirm chain spec suits your gypsy (this is the part of the windlass that grabs the chain and pulls it up). The gypsy and the chain width must be the same. DIN766 short-link is common. ✅ Re-mark your anchor chain with plastic markers. Update your helm cheat-sheet. ✅ Practice your set and break-out. Our earlier guides cover technique and scope. ✅ Follow biosecurity steps in controlled areas. Bag and bin weed. Do not shift it.
Handy picks for this job
Stock up on essential gear to maintain your anchor locker and tackle. These picks make the job easier.
DIN766 galvanised chain to replace tired links.
Chain markers that suit your link size and windlass.
Anchor shackles and a self-righting swivel for smooth retrieval.
Soft deck brush and cleaner for a quick locker scrub.
Washdown pump kit to blast mud at the surface and keep the locker clean.
Anchors to suit your seabed and bow gear, including Rocna, Manson and Maxset.
Ready for summer
Keeping the anchor locker clean and properly organised is not a complicated job, but it is one that pays back every time you need to anchor in a hurry or in testing conditions. Mud, weed, and salt accumulate quickly, and left unchecked they cause corrosion, tangles, and smells that shorten the life of expensive gear. A proper service means removing the chain and rode, inspecting every component from shackles to swivels, flushing and drying the locker, clearing the drains, and restowing everything in the correct order. Re-mark the chain while it is on deck, confirm the chain gauge matches the gypsy, and replace anything worn. In areas affected by exotic marine pests, cleaning up before moving on is not optional. With the right tools and a straightforward routine, the anchor locker becomes one of the easiest parts of the boat to keep in good shape.